Braintree is part of the PayPal group of companies and they provide a number of methods to process payments. Subbie provides an integration to import customers, subscriptions, invoices, payments, products and plans and provides real-time metrics.
Before you begin
Please review these details before completing the following steps.
- Select which Braintree environment you want import data into Subbie, either Sandbox or Production. Learn more.
- Locate your Braintree Merchant ID.
Connecting Braintree to Subbie
1. Create a read-only API Key for Braintree
Subbie only needs read access to your Braintree account, so it is recommended to create a read only API Key. To do this, do the following:
- Log in as admin to your Braintree account and go to Settings > Team > Manage Roles > + New Role.
- Give the role a name like Read-only.
- Uncheck all permissions except:
- Transactions > Download Transactions with Masked Payment Data
- Customer Management > Download Vault Records with Masked Payment Data
- Recurring Billing
- Download Subscription Records
- View Modifications
- View Subscription Plans
- View Subscriptions
- Search Subscriptions
- Read-Only Access (ALL)
- Search (ALL)
- Now go to Settings > Team > Users > + New user.
- Give the user API Access
- Assign the read-only role you previously created
- Assign access to the merchant accounts (usually all of them).
- Now log out of Braintree and log back in as this new 'read only' user.
- Then go to Account > My User > Api Keys.
- Use these API keys in Subbiemetrics for added security.

2. Add the Data Source in Subbie
- Go to Data Sources in Subbie and add a data source.

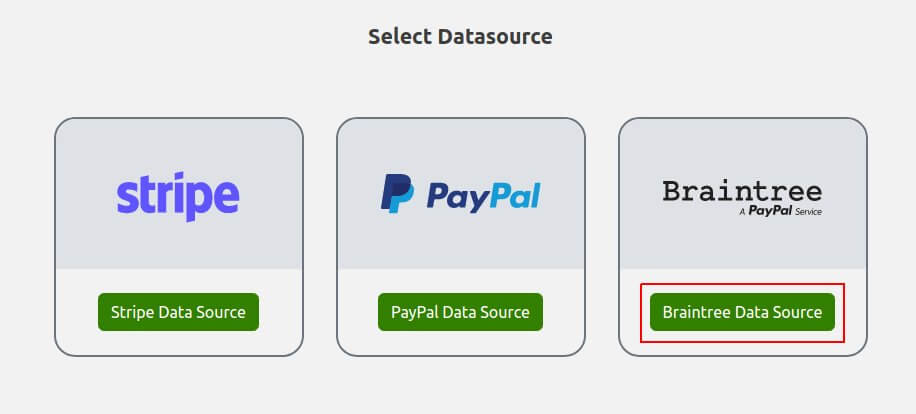
2. Select the Braintree data source

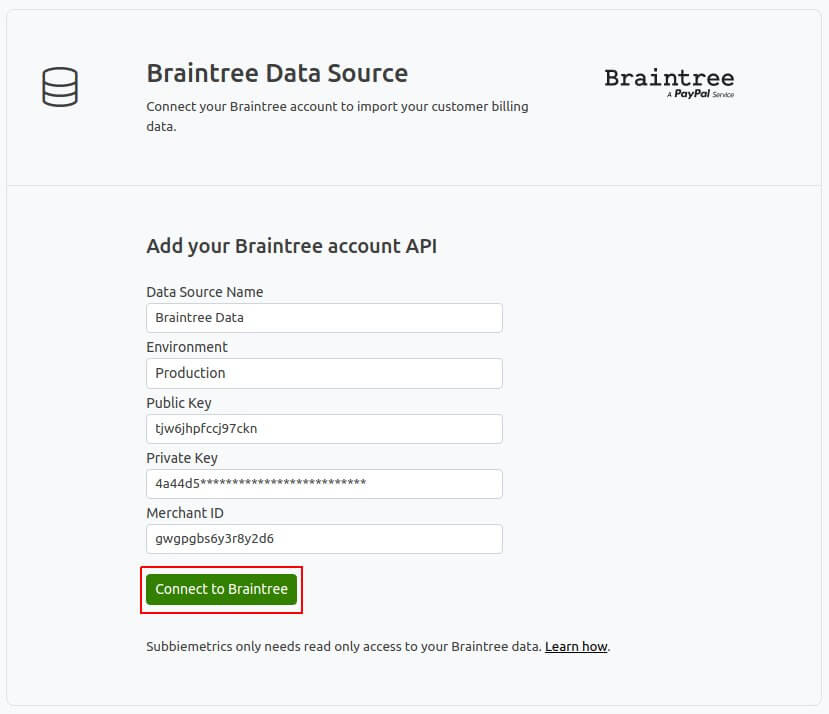
3. Enter your data source details:
- Give your data source a Name eg ProdData
- Select your environment (Production or Sandbox)
- Enter your Public and Private Key
- Enter your Merchant ID
- Click on the Connect to Braintree button

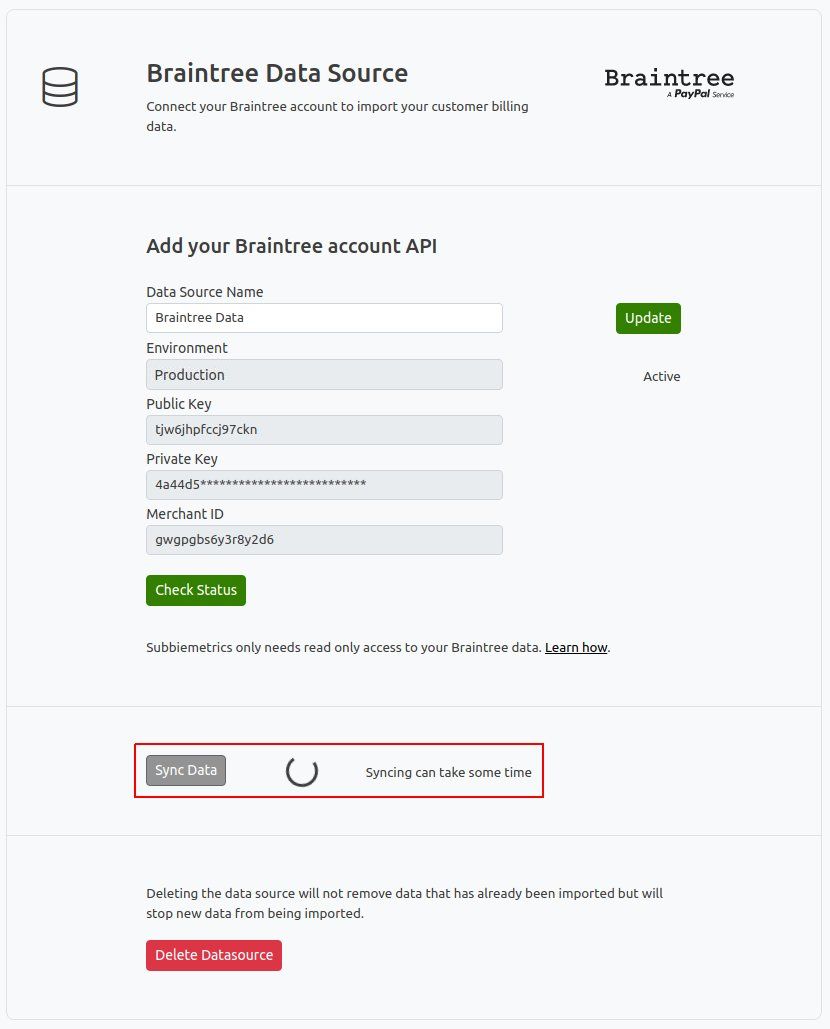
Subbie will connect to Braintree and start the initial sync. This will take some time to complete and you can leave it run in the background if you wish.

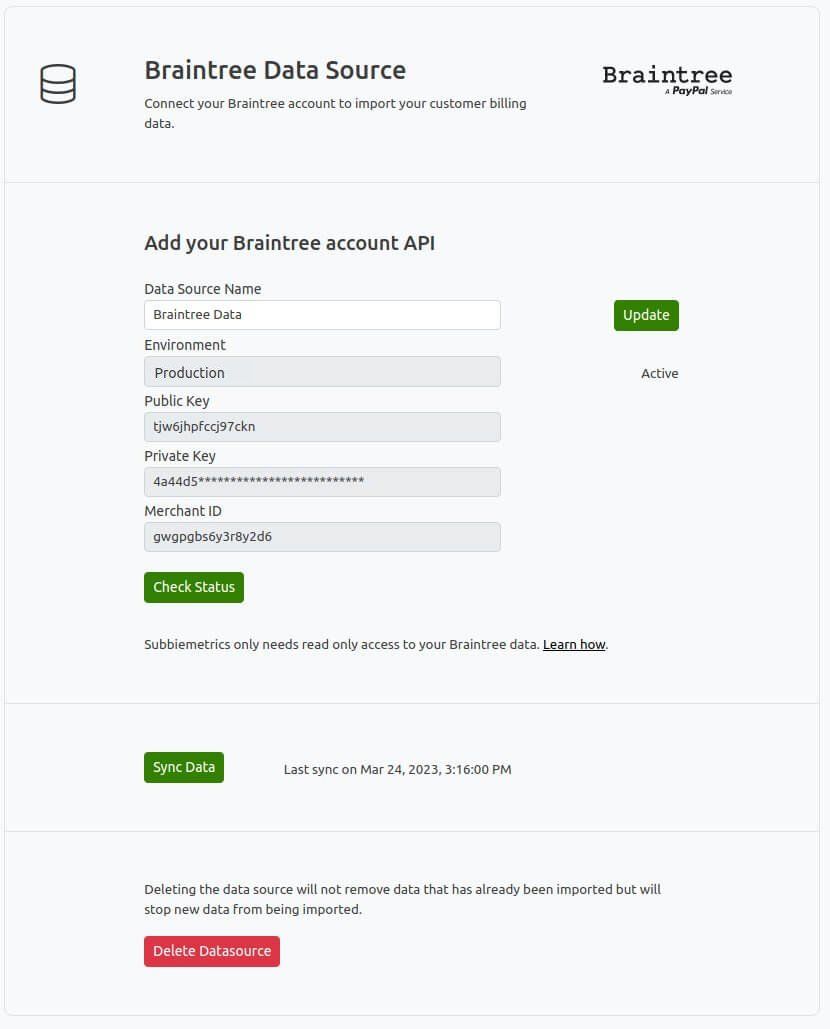
When the sync is finished the last sync date will be noted. Events are updated throughout the day and the last sync date will update each time.

You should not need to run a full sync again but you can do so as needed.

